
Free Shipping over 80£ - 2 days delivery 🇬🇧
Night photography is a genre that invites you to slow down, observe carefully, and see the world in a different light—literally. Many assume that capturing great night shots requires professional gear or remote locations, but the reality is much more accessible. Whether you're using a smartphone or a mirrorless camera, the night holds endless opportunities to create stunning, atmospheric imagery.
From star-strewn skies to glowing cityscapes, the magic of night photography lies in its contrasts—between light and shadow, motion and stillness, solitude and the subtle buzz of life that continues after dark. This guide walks you through everything you need to know: gear, techniques, planning, and creative approaches to help you master the night.

Nighttime scenes often reveal what’s hidden during the day. Long exposures can transform headlights into graceful trails, stars into painterly streaks, and dim alleys into cinematic backdrops. Whether you’re drawn to urban neon or rural quiet, the lack of light becomes your creative partner.

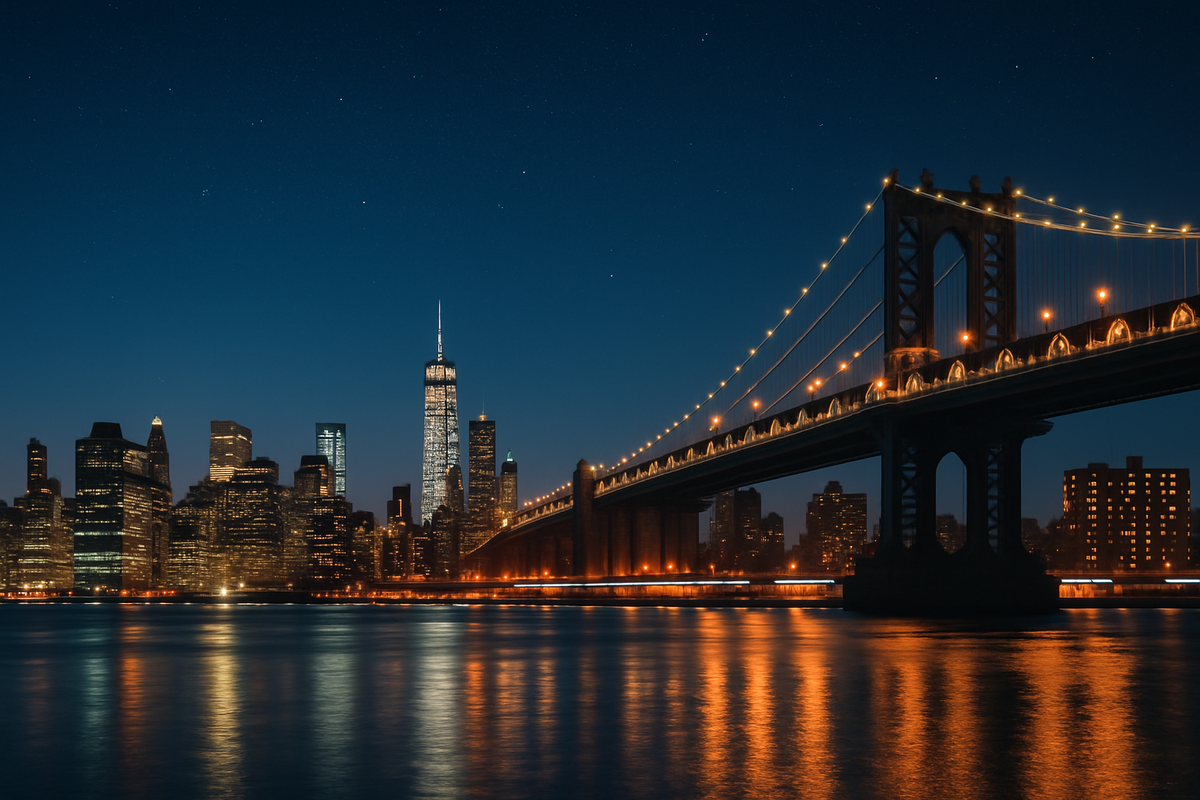
Look up at the sky. The Milky Way, constellations, and even the moon offer incredible visual interest when captured with the right settings (Astrophotography). In cities, streetlights, bridges, and architectural silhouettes make for rich compositions (Cityscapes). Even people lit by ambient light or neon signs can become powerful focal points in your story (Neon Portraits).
You don’t need to spend a fortune. A DSLR or mirrorless camera with solid low-light performance is ideal, but even smartphones can produce impressive results. Wide-angle lenses with large apertures (f/2.8 or faster) work best for stars and sweeping landscapes. A sturdy tripod is essential, along with a remote shutter or timer to keep your camera steady.
Also bring extra batteries, a red-light headlamp to preserve your night vision, and useful apps like PhotoPills to track celestial events or light pollution. For iPhone users, Adobe Lightroom Mobile includes a long exposure mode that’s great for creative effects.
Manual mode is a must. Set your aperture wide, your ISO between 800 and 6400 depending on conditions, and your shutter speed between 5 and 30 seconds. Use the '500 Rule'—500 divided by your lens focal length—to avoid star trails in astrophotography. Always shoot RAW to give yourself room to recover shadows and color in editing.
Every scene is unique, so test and adjust as you go. Start with test shots, then fine-tune your settings based on feedback from the histogram and your camera’s preview. If the scene is too dark, consider increasing ISO or widening the aperture instead of overextending your shutter time, which could introduce motion blur. Don’t be afraid to bracket exposures if you’re unsure—multiple shots at varying settings can help you blend the best aspects later in editing.
Visit your location during the day. Identify safe access points, interesting foregrounds, and avoid hazards. Plan your shoot around moon phases, weather forecasts, and blue hour timing for the best light. Twilight often gives a perfect balance between ambient and artificial light.
When scouting, look for compelling foreground elements—trees, rock formations, buildings, or even fences—that can add depth and scale to your image. Make a note of artificial light sources like lamps or billboards, which may help or hinder your composition. Apps like Stellarium or Sky Guide can also help you anticipate where stars, planets, or the moon will appear in your frame.

Use manual focus—autofocus struggles in the dark. Zoom in using live view to fine-tune your focus on a bright point. Lock in your settings, use a remote trigger, and review images with the histogram to ensure you’re not losing details to blown highlights or crushed shadows.
Light painting is another creative tool: use a flashlight to illuminate parts of your scene for dramatic effect. Always use low-intensity or red lights to avoid disturbing your setup or your vision.
Embrace leading lines, reflections, and silhouettes. Include a human figure under a starry sky to add scale, or capture a passing car to add movement. Neon signs, wet streets, and glass windows can reflect light in beautiful ways—don’t be afraid to experiment.
Software like Lightroom lets you fine-tune contrast, reduce noise, adjust color temperature, and highlight details hidden in shadows. Consider blending exposures or stacking multiple images to get clean results, especially in astrophotography.
Editing plays a huge role in elevating night images. Use tools like noise reduction selectively—too much can soften detail. Sharpen your subject while masking out smooth areas like skies to avoid unwanted texture. Try split toning to add cool blues to shadows and warm tones to highlights for visual contrast. Use radial filters to draw attention to focal points, or gradient filters to balance exposure across a skyline or horizon. With practice, you can create mood and emphasis that go far beyond what the camera alone can capture.
Dress warmly, bring snacks and water, and let someone know your location. Shooting at night can be a solitary and peaceful experience, but safety should always come first. And most importantly—practice. The more time you spend photographing after dark, the more fluent you become in its language.
Conclusion
Night photography is both a technical challenge and an artistic adventure. It teaches you to see the world differently and rewards those who are patient, curious, and willing to explore the unknown. So pack your gear, pick a spot, and start capturing the hidden beauty of the night.
Remember, not every shoot will yield a perfect image, and that’s okay. Night photography encourages exploration and experimentation. Sometimes the most memorable shots come from unexpected lighting or weather conditions. Treat each outing as a learning experience, and soon, you’ll develop your own rhythm and style

Explore the fundamental principles of photography and become a more confident and skilled photographer.

Learn how professional travel photographers prepare for and complete exciting worldwide travel adventures.

Learn from leading night photographers about the equipment and techniques used to create captivating images of the night sky and urban scenes.

Learn the techniques, tools, and tricks used to create mouthwatering images.